
WIP Leah
- Liz Canfield

- Aug 11, 2019
- 3 min read
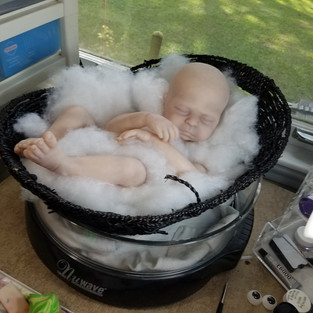
I don't have an agenda with this baby, I am just going for it. She was a kit that I really liked photos of, but was not too impressed with her blank when she got here. Her nose is an odd shape and her arms seem super long after all of the 3/4 limb kits that I have done recently. I have done quite a few boy kits, so I am purposefully trying to see her as a girl each time I add a layers.
My first couple of Flesh 08 layers went on fine. I goofed around the knee with my Vein Blue mottling layer and got is a little too dark. It did not look like that until after baking, so I must not have let it flash all the way off. Naughty, naughty. Gonna have to tone that down with some orange later. I followed it with a Dirty Purple mottling layer. The baby is looking pretty good.


Next, I decided to do the Indigo mottling layer. When shading with this color, I really hit the area around the eyes.

I followed that up with an Orchid mottling layer. Using the orchid color, I pre-blushed the cheeks, palms, soles, knees, and elbows.


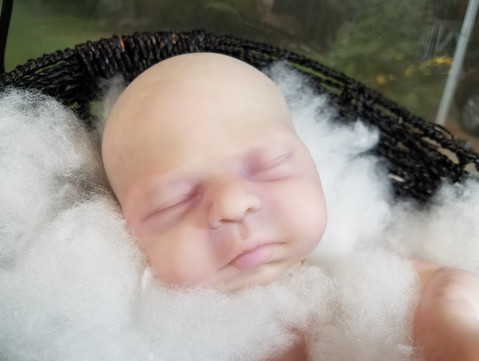
Using the muted pink blush, I blushed all of the places that needed warming. I love this light rosy hue that I got from the MG tutorial. The baby is still very pale and this blush did not warm her up much. The muted blush has a Flesh 08 component, so I have to be careful that she does not go chalky on me. This is the first layer that introduces some opacity though. I decided after blushing that I would do a Lavender mottling layer. I continued with Lavender pops around the eyes, in the ears, and inside the lips. I also re-popped the Indigo around the eyes as well.


She is ready for the main skin color. Using an opaque skin color is something that I have only recently started doing again. I think that at this point, I want to keep her pale, so I am going to go with a yellow-based skin tone. I do not want to introduce a lot of orange. I first ended up with a terrible color and no amount of correcting helped. I had to strip these layers and start again with a wheat color for the skin tone.
After the skin tone, I felt that I needed to warm her up before I could continue. I just could not see a finished baby with this horrid skin color that I ended up with. I tried a number of Burnt Umber washes, but after 3-4 they began to look grainy and I was not getting the effect that I was wanting. I decided to break off and do a Blood Red mottling layer. With this same color, I also passed over the creases and the areas that I am going to come back and blush later. She is looking much better.
Next is veining and a blue pop. I want to keep her a cool skin tone, so I am going to go with Phthalo Blue 02 for the veins and the blue pops. I may add a few veins with the DKI "Vein" color, which has a green component, in the thinnest areas. Once the veins and blue pops flash, I crease with a pre-mixed creasing color and a touch of Q. crimson.


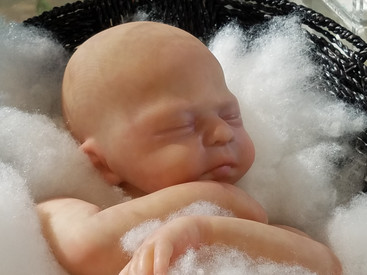
She is really starting to get somewhere! I blushed with a 1:1 mix of Q. magenta and Q.crimson. I focused on the hands, feet, knees, elbows, cheeks, and ears. I also use a dry brush to add some petechiae on the forehead, eyelids, and cheeks. I also did capillaries at this time.


Final Flesh 08 speck mottle and she is done!


Comments